 Netbooks, which are ultra-portable laptops, have exploded in popularity due to their small size and ease of use. Unfortunately, that tiny form factor comes with some drawbacks – most netbooks don’t come equipped with an optical drive. This means that most users are stuck with the operating system that was installed by the manufacturer.
Luckily, Windows 7, XP, Vista, Server 2003 and Server 2008 can be installed from a USB flash drive with a few simple steps. In this guide, I’ll be using a program called WinToFlash to create a bootable USB drive for Windows 7.
Prerequisites
- A Windows installation disc or disc image (.iso)
- If you have downloaded a Windows installation disc (such as the Windows 7 Beta or RC), you should already have the .iso file.
- If you have a physical installation disc, skip to Step 2.
- A USB flash drive – minimum 3 GB.
Step 1: Extract the Windows .iso
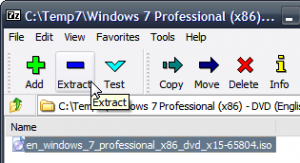 If you have an installation disc image (.iso), that file contains all of the files from the Windows installation disc. To extract these files, download and install 7-Zip (free) and browse to the location of your Windows .iso in the file browser. Click ‘Extract’ and wait while the files are expanded.
Step 2: Processing Installation Files with WinToFlash
Download the latest version WinToFlash and extract the files. Open WinToFlash.exe and click the ‘Windows setup transfer wizard’ button to get started.

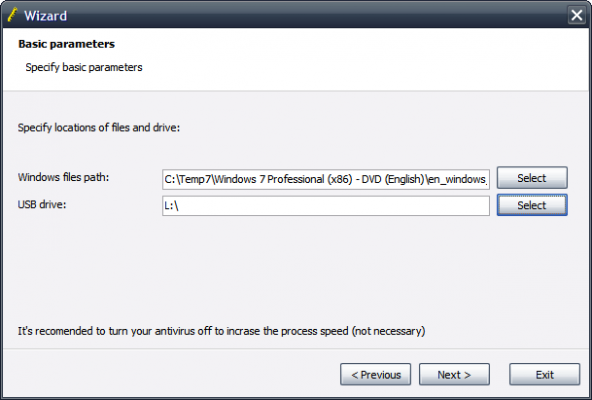
After clicking Next, you need to select the path to your Windows installation files and your USB drive. If you have a Windows installation disc, select your optical drive. If you had an .iso image, choose the location where you extracted the files from Step 1.
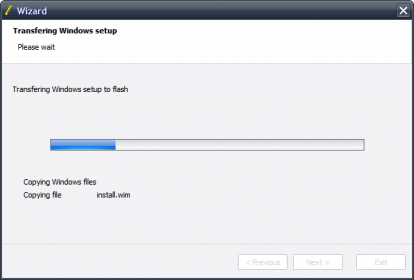
WinToFlash will configure your USB drive and transfer all installation files. This will take approximately 5-10 minutes.
Once the process has finished, you will receive an “All done” message. Click Exit to close the application, and your USB drive will now contain a bootable version of your Windows installation files.
Step 3: Install Windows
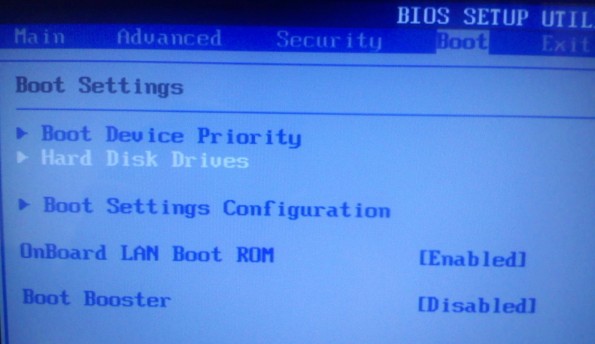
Now that you have your USB drive prepped and ready to go, you need to set your netbook to use your USB drive as the primary boot device. This can be done by accessing your computer’s BIOS by tapping the key your manufacturer specifies (typically Delete or a function key like F2) just as your computer starts.
In my instance, I had to go to the Boot tab and select ‘Hard Disk Drives’ first to set my USB drive (listed as USB:SanDisk Cruzer) in the 1st Drive field. I then had to go back to the Boot Settings menu and open ‘Boot Device Priority’ to set the USB:SanDisk Cruzer drive in the 1st Boot Device field.
Note: While most newer computers support USB drives as a boot device, some older models may not. Refer to your manufacturer’s support information or check if an update to your BIOS is available.
After setting the USB drive as your primary boot device, save your changes (typically with F10) and restart your computer. While booting up you may see a message to “Press any key to continue…”. You can now proceed through the Windows installation like usual, and once the installation is finished be sure to go back into your BIOS and change your settings back to the way they were originally.
Have another method to install Windows on a netbook? Share it with us in the comments!

Leave a Reply
You must be logged in to post a comment.