I have always been reliant on my Gmail account for all of my personal electronic correspondence — it’s the primary link between me and my networked and integrated world. Over the years, it has accumulated a considerable amount of important (and equally unimportant) emails.
If I rely so heavily on my Gmail account, why has it taken me this long to realize that I have never backed it up? I mean, every other important digital file I own (pictures, music, etc.) is backed up in at least three places. Why shouldn’t my email inbox be as well? After coming to my wits, I decided to try a Gmail backup/restore program and remove any doubt, and of all the backup options available, I decided upon Gmvault.
Setting up Gmvault
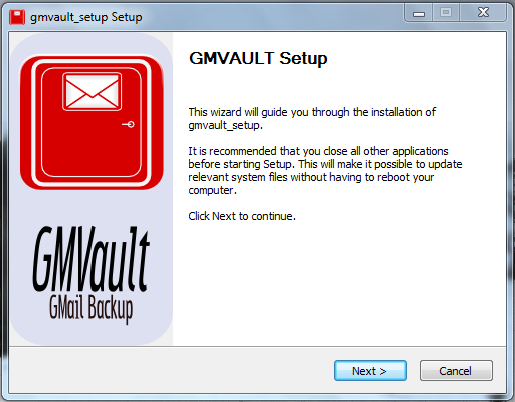
The setup is fairly simple and takes no extra hassle to install. After installation, proceed to the main menu to begin using Gmvault.
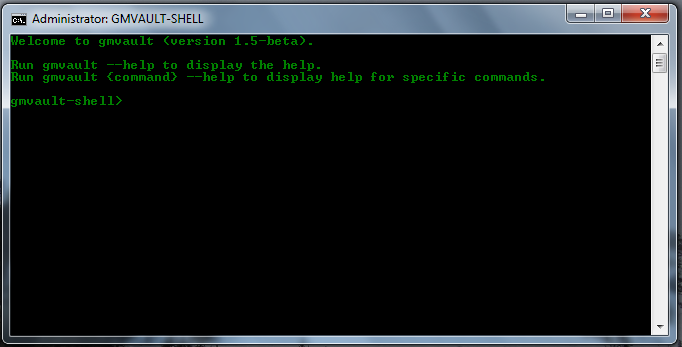
But wait, this is the main menu? Why yes, this is not a joke — the main menu for Gmvault is indeed a command window. Before one gets nervous due to the “lack of a proper user interface,” let me demonstrate Gmvault’s simplicity. Start off by typing gmvault –h into the command window.
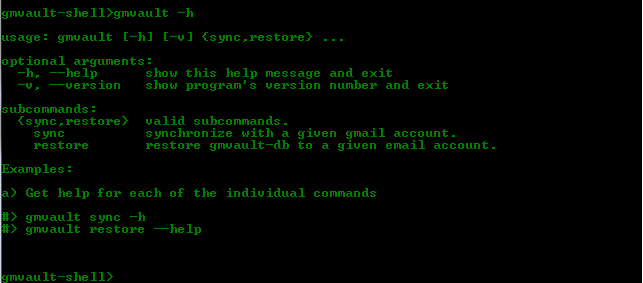
From here, one can see that this program has really only two functions: Sync and Restore. Let’s start with Sync (a.k.a. backup).
Sync
From the Gmvault command prompt, type in gmvault sync –h to pull up the options and examples for the Sync function.
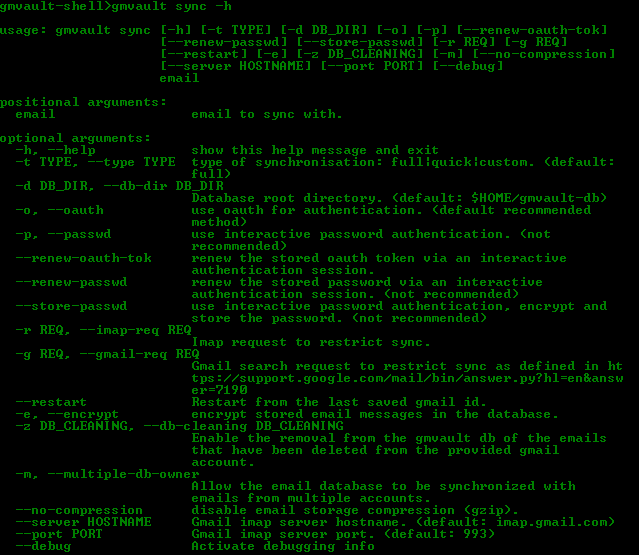
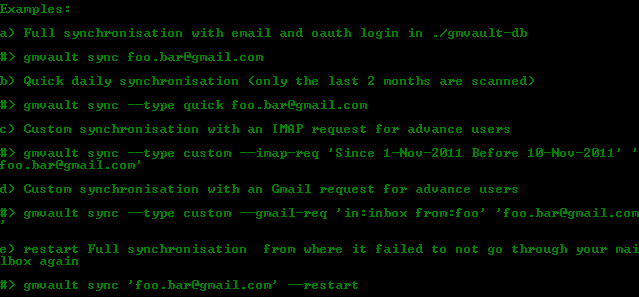
Again, this may look like a lot to understand, but the main portion you want to look at is the Examples. From this list, one can find their perfect backup situation. Considering that I had never backed up my Gmail emails before, Option A became the most logical choice. After typing in gmvault sync [my email address], the program asks for permission via your Gmail account to begin syncing and backing up your inbox. This is done through a browser pop-up that appears.
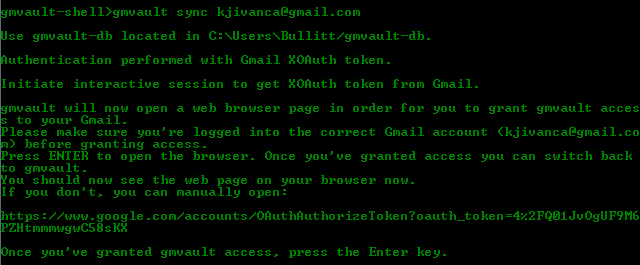
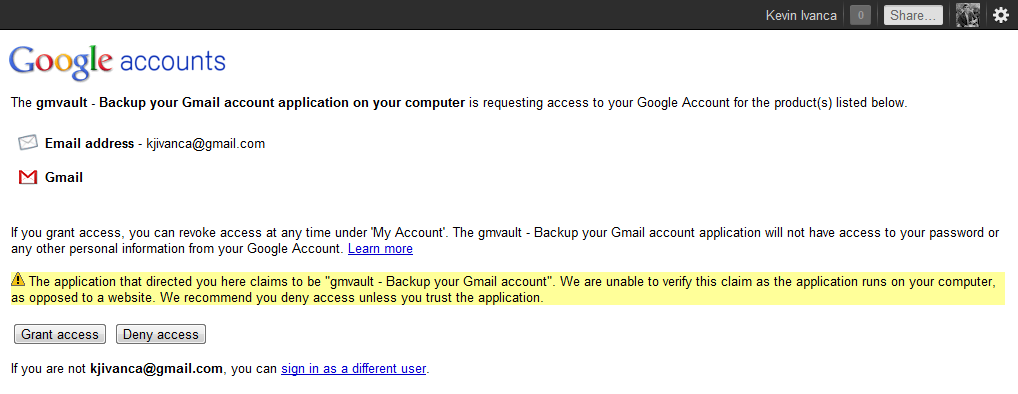

After allowing access to your account, hit Enter and watch Gmvault go to work.
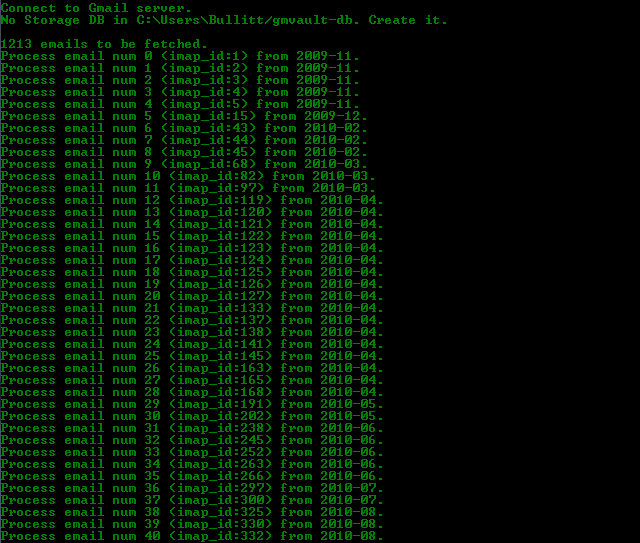
Every once in a while, Gmvault will update you with its progress and how much time is left (so you don’t have to watch it constantly). Once completed, a success prompt will appear.

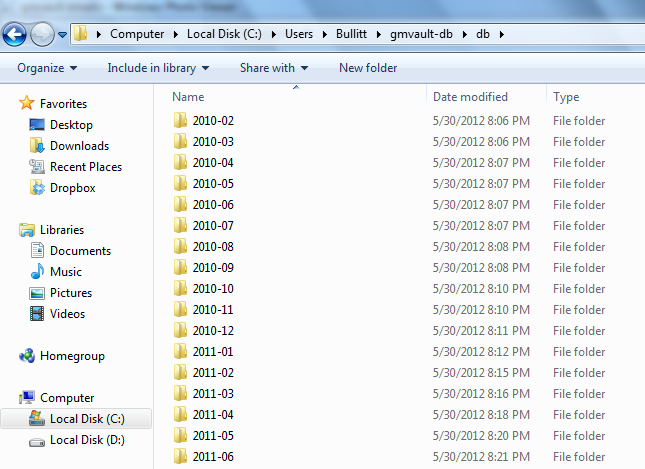
If you want to verify the backup process, the emails can be found in C:\Users\…\gmvault-db.
Restore
I won’t go into too much detail about the Restore function, but essentially it works in the reverse order that Sync did. Type gmvault restore -h to see the help options.
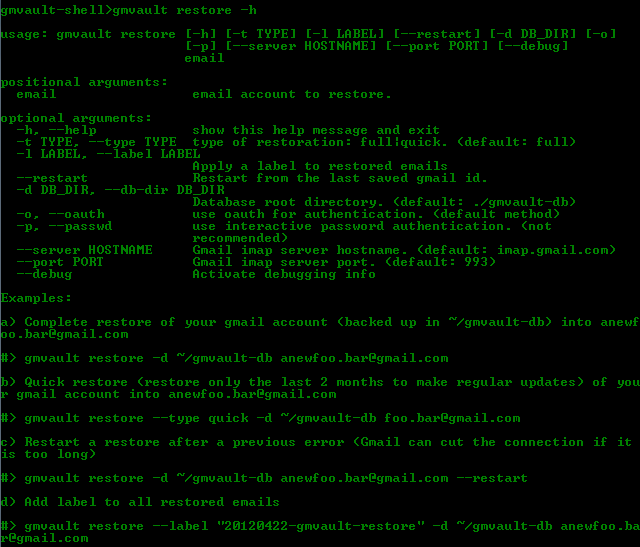
From the exact same folder used for backup, Gmvault begins the process of restoring your emails back to the account specified. Simple, quick, and effective.
Conclusion
Gmvault may not have a fancy user interface or a cool progress bar, but it makes up for that by successfully backing up and restoring your Gmail account with simple commands and quiet precision.
Gmvault is a free download for Windows, Mac OS X, and Linux.

Leave a Reply
You must be logged in to post a comment.