 Once upon a time, just about the only people who took screen captures were technical communicators and technology writers. Nowadays, it seems that everyone needs to grab a window or screen on their desktop. Which is why, I guess, the number of screen capture tools available for various operating systems has blossomed over the years.
If you use Linux, then you suffer an embarrassment of riches when it comes to screen capture software. One of the most useful and flexible screen capture applications for the Linux desktop is Shutter.
Let’s take a closer look at how to use Shutter.
Installing Shutter
Chances are you don’t have Shutter installed on your computer. You can download source code and packages for various distributions.
If you use Ubuntu, then you can install Shutter from a Personal Package Archive. To do that, open a terminal window and run the following commands:
sudo add-apt-repository ppa:shutter/ppa sudo apt-get update sudo apt-get install shutter Once Shutter is installed, you can launch it from a menu. For example, in Ubuntu select Applications > Accessories > Shutter.
Getting Going
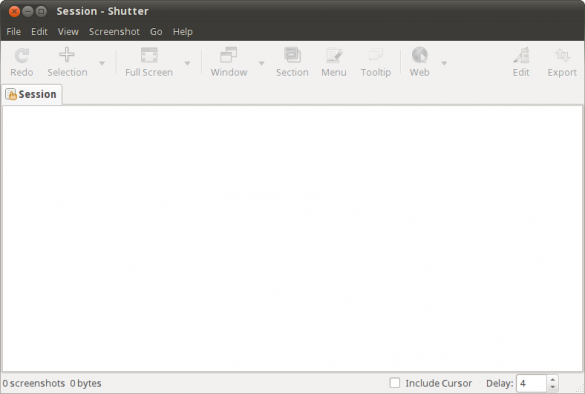
Using Shutter, you can grab the following:
- Your entire desktop
- A single window
- An area that you select
- A menu
- A tool tip
- A web page
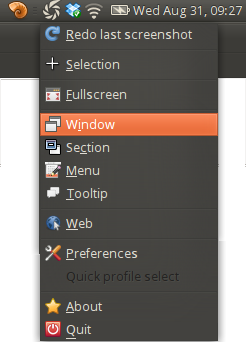
Buttons for each of these options are on the application’s toolbar. When you minimize Shutter, its icon sits on a panel. You can choose an option by right clicking the Shutter icon.
The first two screen capture options — entire desktop and single window — pretty much explain themselves.
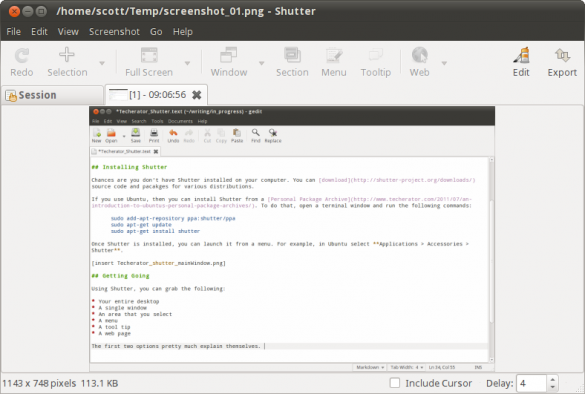
To grab a portion of the screen, click the Selection button on the toolbar. Then, click and drag your mouse to select what you want to capture. When you’re done, press Enter on your keyboard.
Capturing a tooltip (the text that often appears when you hold your mouse over a button in an application) or a menu is probably only useful if you’re preparing documentation. You just have to remember to keep displaying the tooltip or menu for a few seconds before it’s captured.
Taking a screen capture of a web page works a little differently. When you click the Web button on the toolbar, a dialog box pops up. If you have a URL on your clipboard, Shutter assumes that’s the web page that you want to capture. You can also type a URL in the dialog box. Then, click the Capture button.
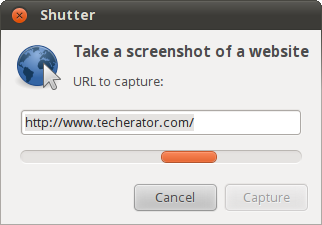
This option doesn’t work with some websites. The capture process will sometimes time out, often without any rhyme or reason.
Editing Your Screen Captures
I usually like my screen capture software to do one thing and one thing only: take screen captures (obviously). If I want to manipulate screen captures, I can do that in an actual graphics program like The GIMP. But I make an exception for Shutter. Why? Its image editing tools, while limited, can be useful.
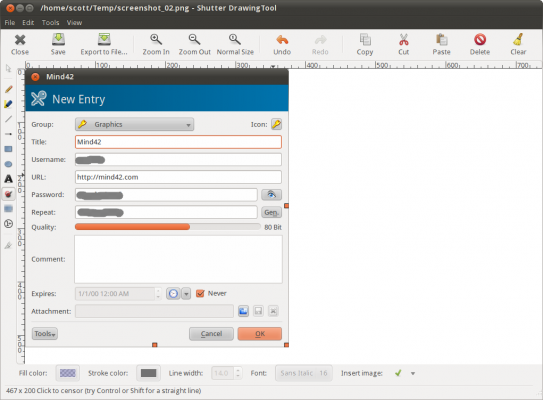
When you need to edit a screen capture, click the Edit button on the toolbar. You don’t get tools to resize, crop, rotate, or otherwise manipulate an image. You can add text, lines, callouts, and shapes to a screen capture. You can also highlight portions of a capture, or censor portions of an image to hide personal information.
Final Thoughts
Shutter is a very flexible screen capture tool. I find it to be almost indispensable in my day-to-day work. It’s easy to use and has the features that I need (and a few that I find myself needing occasionally).
If you find yourself taking a large number of screen captures on the Linux desktop, then you should definitely give Shutter a look. It’s a worthy addition to your stable of applications.
Photo credit: Adorama


Leave a Reply
You must be logged in to post a comment.