I previously wrote an article about setting up the free program Vibe Streamer to stream your music library to any Flash-enabled web browser. An upgrade was recently released with offers many improvements that you may be interested in which I will cover below.
Getting Started
Start by downloading and installing the latest version of Vibe Streamer 3 from their website. When Vibe Streamer server has been installed and you run it, you will notice that the main window looks very similar to Vibe Streamer 2.
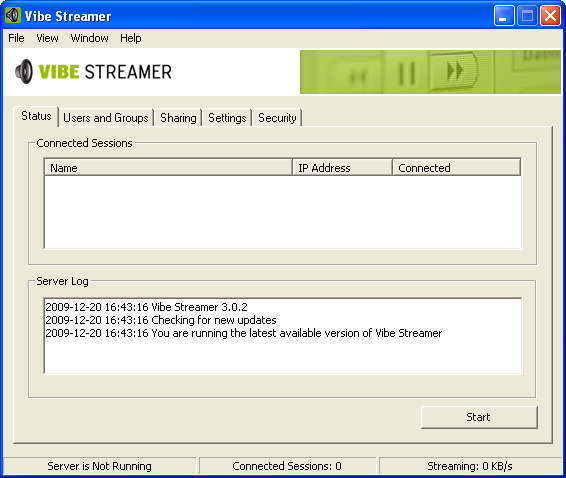
Most settings are changed in the same location in Vibe Streamer 3 as Vibe Streamer 2. Below is a quick guide to setting up your Vibe Streamer.
Configuration
Before you can begin to stream your music library, there are some configuration steps that must first be taken.
- Setup a Group under the Users and Groups tab.
- Setup a User with a Password. Note: Passwords are VISIBLE and not hidden behind * ’s.
- Select a folder to share. Select the Users and Groups that are permitted to stream music from the Share.
- Select the Settings tab and enter the necessary information. Change the port to a high number. Values such as 15000 work well.
- Under the Security tab you can specify which IP addresses are allowed and blocked from the server.
- Once the above configuration steps have been completed, you can select Start on the ‘Stream Server’ tab.
- Make sure that your selected port has been properly opened on your computer, or properly forwarded on your router. (Visit http://portforward.com for help with port forwarding.)
Listen
Now that you have your streaming server setup, you can access it from any Flash enabled web browser.
Enter ‘your IP address:your port’ into your web browser and enter your username and password when prompted.
If everything is setup correctly, you should now see any folders and music files in your shared folder. If you cannot access your server or cannot see your music, be sure to verify the above steps were completed. If you do have any problems, they are most likely related to your port, router, or firewall configuration.
What’s New in Vibe Streamer 3
SSL
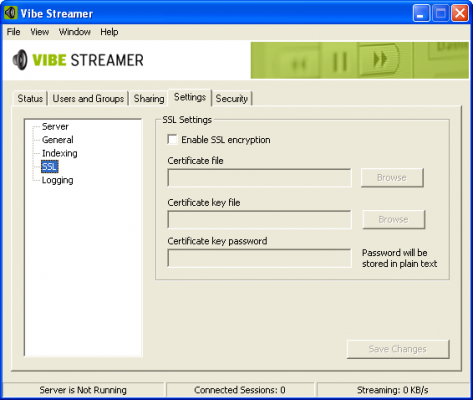
Included in Vibe Streamer 3 is the ability to encrypt your Vibe Streamer communications with Secure Socket Layer (SSL) encryption. I have not set this up on my server, but would recommend it if you want to add some extra security to your server.
Search
A great addition to Vibe Streamer 3 is a built-in library search. This feature allows you to quickly find an artist, album, or song within your music library.
![]()
Last.fm
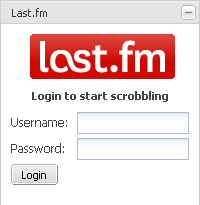
Integrated Last.fm scrobbling was one of the most requested features for Vibe Streamer 3. Clicking the Last.fm button in the sidebar will show the Last.fm login page. Any tracks that are played through Vibe Streamer will be scrobbled to Last.fm.
Administrator Interface
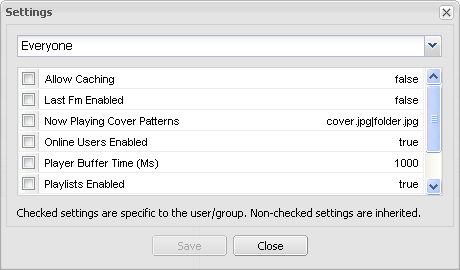
Another new feature to Vibe Streamer 3 is a remote Administrator interface. In previous versions of Vibe Streamer, all setting changes had to be made on the server side. With the addition of the administrator web interface, any users that have the Administrator checkbox checked will be able to make a limited number of Vibe Streamer changes remotely.
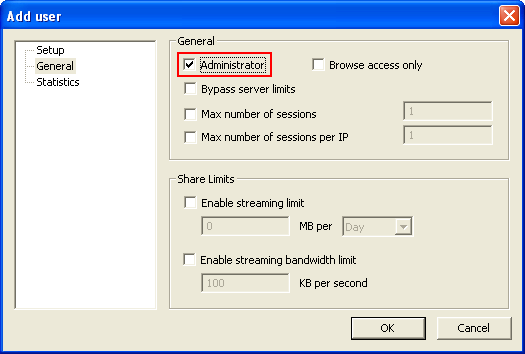
When the Administrator checkbox has been checked in the users’ account, the Settings button will become visible when the user has logged in through their web browser.
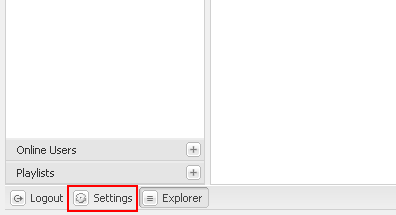
Clicking the Settings button will show the settings available to the Administrator user. After settings have been changed, it will be necessary to logout and login to see the changes.
Improved Sidebar
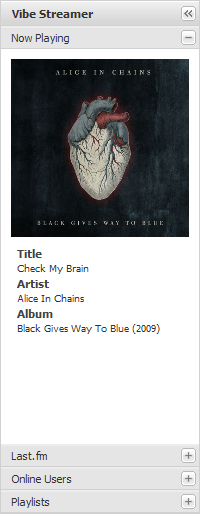
One of my favorite additions in Vibe Streamer 3 is the improved Vibe Streamer sidebar. The sidebar is broken down into three or four sections (if Last.fm is enabled) for ease of use. Ajax effects in the sidebar add a great look to the web interface.
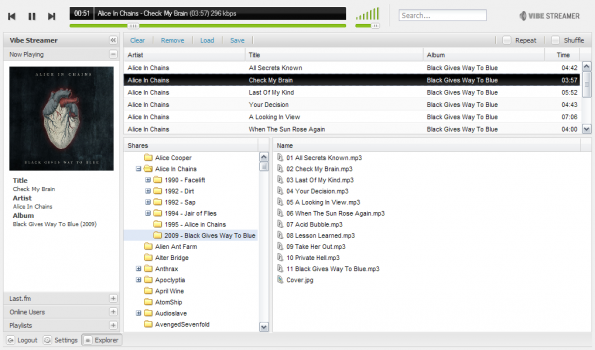
To see Vibe Streamer 3 in action, take a look at the image below.
What do you think of the latest Vibe Streamer release? Have you used Vibe Streamer to stream your music library? Let us know by commenting below.

Leave a Reply
You must be logged in to post a comment.