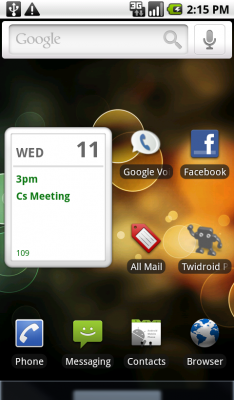
 Since I’ll be writing about the Motorola Droid (which uses Google’s Android mobile operating system) in the upcoming weeks, I wanted to be able to perform screen captures directly from the device instead of taking photographs of the entire thing. This guide will walk you through the simple process of taking screenshots of an Android-based phone.
Step One: Download and extract the Android SDK for your operating system. SDK stands for Software Development Kit, and is what developers use to design Android software on a PC.
Extracting the files is all you have to do – you don’t actually have to install anything for this to work.
Note: You also need to have Java JDK installed (not just JRE which is more common). More information can be found on the Android SDK requirements page.
Step Two: On your Android-based phone, go to Settings –> Applications –> Development and enable USB debugging. When you’ve enabled debugging, connect your phone to the computer.
In my case, I had to install additional Motorola USB drivers for my phone to be properly recognized in debugging mode, even though it worked fine before I enabled it.
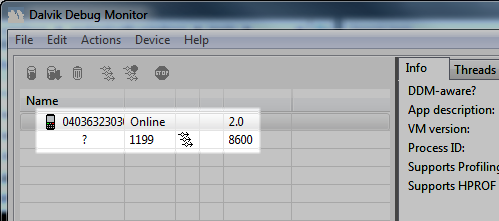
Step Three: In the folder where you extracted the Android SDK files, open the tools folder and run ddms.bat. This will launch the Dalvik Debug Monitor, and if your phone is connected properly you should see it in the list of devices as shown below.
 Step Four: To take a picture of your current screen, select your device in the list and click Device –> Screen Capture. You’ll then see a high resolution screenshot of your device’s screen!


Leave a Reply
You must be logged in to post a comment.