If you’re reading this article, it’s safe to assume that you’re either my editor, or a geek/nerd/dork or something in between. Whatever your case, you’re probably like me in that you spend a lot of time on your computer, playing video games, waxing philosophically over the merits of Linux vs. Windows, etc. Sometimes it’s nice to push away from the desk and return to your roots, and perhaps engage in something a bit more “hands-on”.
Perler beads are a surprisingly fun (if juvenile) way to reconnect with your past by creating nifty sprites of your favorite Nintendo characters. Cheap and easy, this is a good pastime for decorating your geek/nerd/dork dwelling, or if you have kids, set them on the road to eternal geek-cred and loneliness.
Let’s get started!
Getting Started
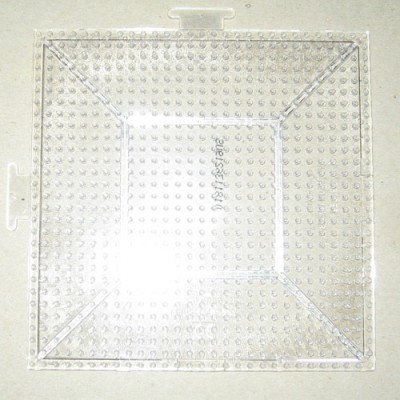
First, you’ll need a few things. A Perler bead pegboard is essential, and without it you will fail, so don’t even try. They cost about $2.50 at any hobby shop, so grab a few. Make sure they are the kind that can connect to other pegboards, just in case you decide to tackle larger (more geeky) projects.
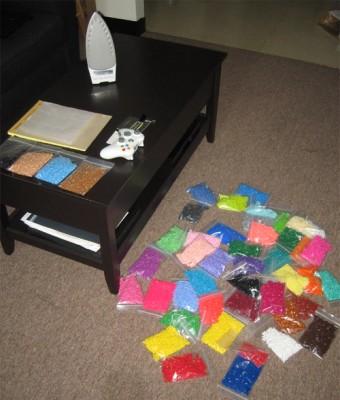
You’ll need Perler beads in individual color packs. Most Perler beads come in jumbo multi-color packs. Trust me, nothing is more irritating that searching for the correct shade of brown in a 20,000 bead pack.

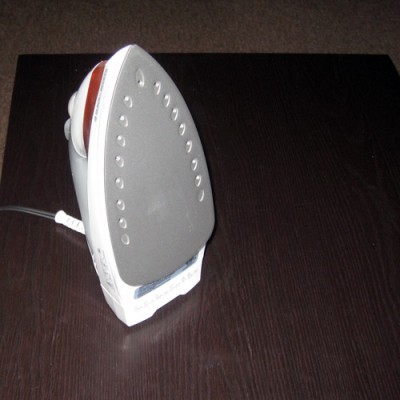
An iron with a steamless setting will be needed to fuse the beads together once you have your character made. Be sure not to fill your iron with water beforehand. Additionally, a cardboard or heatproof surface will make things easier.
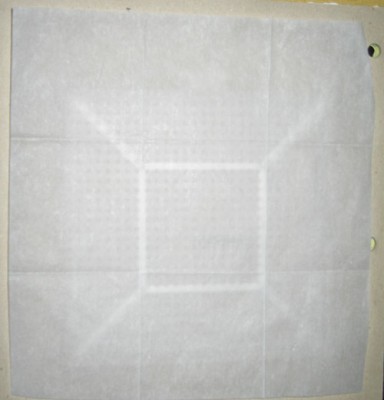
A few sheets of ironing paper will keep the Perler beads from melting and sticking to the iron. You can buy several sheets for less than $2 at any arts & crafts store. Or if $2 is too expensive (or you can’t find ironing paper), wax paper is also a good substitute.
The full setup may appear to you as shockingly childlike, and it would be wise to have some sort of alcoholic beverage nearby to reinforce that you are indeed an adult.
Making Your Figure
So, you’re ready to start crafting some sprites, but you’ll need a template first. There are a number of good websites that specialize in old school NES and SNES sprites, including (my favorite) the Shy Guy Kingdom. Wherever you choose to get your sprites, simply save the image file and zoom in for a pixel-by-pixel representation of your character. Now, it’s just a matter of selecting colors and counting.
Start with an outline. I have a tweezer nearby for detailing.
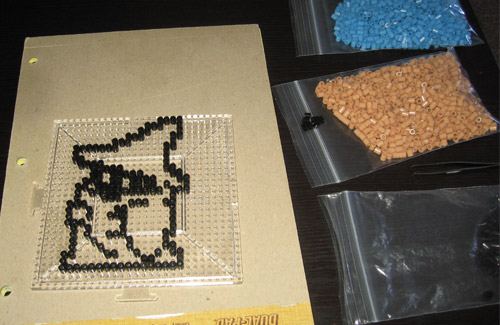
Add some color! You’ll soon recognize that this activity doesn’t require a ton of cognitive power, so now is a good time to finally finish Season 6 of LOST. See your sprite taking shape? Pretty cool!
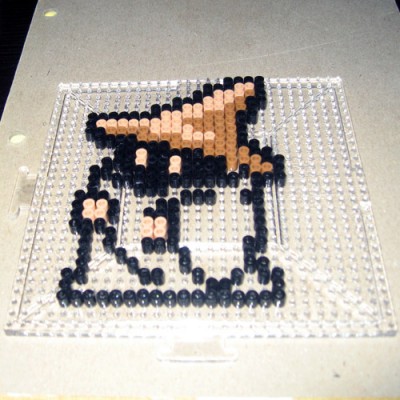
Okay, so you’ve finished adding all of your “pixels”, and your sprite is looking complete. It’s time to pre-heat your iron. Set your iron to “medium” and ensure that the setting is steamless. My iron doesn’t have a steamless setting, per-se. Instead, I just don’t fill it with water. This could destroy your iron. I really have no idea.
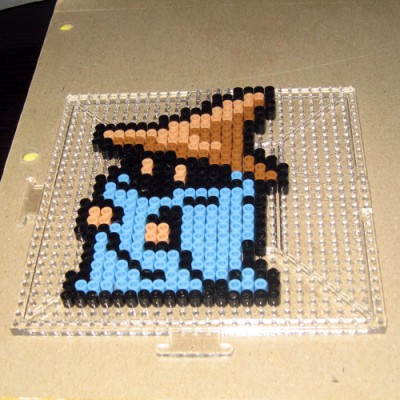
Cover your sprite with your ironing paper and wait for your iron to finish heating. Mine beeps when it is ready, but my iron may be more awesome than yours, so just wait 15 minutes and that should be sufficient.
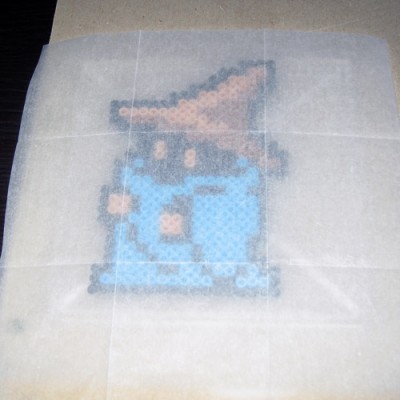
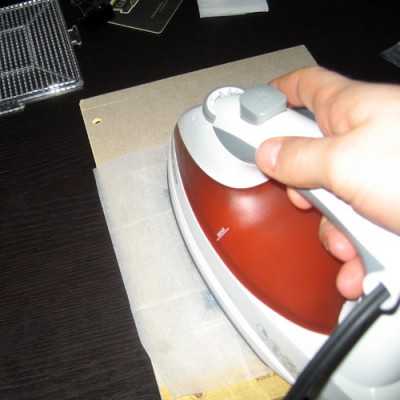
Slowly iron circles over your sprite while applying only slight pressure. Let the weight of the iron do most of the work as you heat the sprite for 20 seconds. Lift the iron without removing the ironing paper and have a look.
Most of the Perler beads should now be melted and appear wet under the ironing paper. If it looks like the image below, you’re nearly done. Let the sprite cool while leaving the ironing paper in place.
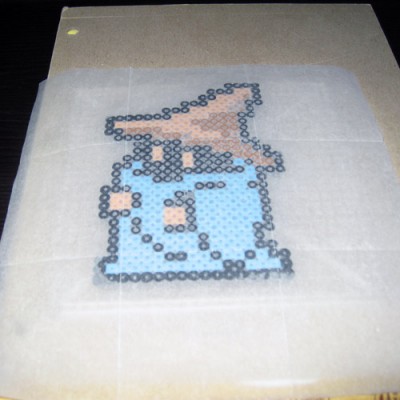
Hey, that looks pretty good! Last step — after it has cooled (allow 5 minutes or so) flip your sprite over and repeat the ironing on the back side to make sure the beads are properly fused.

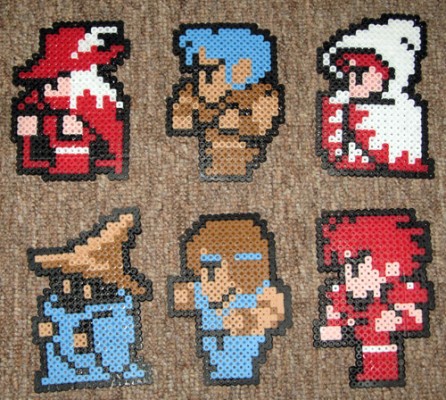
Because sprites tend to get lonely, it’s best to make a few more. You’ll be tempted to show all of your friends your creations, but choose wisely. This sort of hobby could be ammunition for your friends for years to come.
Conclusion
It’s fun, it’s cheap, and it kills a boring Saturday afternoon as effectively as Angry Birds and booze mixed together. These bad boys can be used as coasters, refrigerator magnets, or simple decorations to express your personality.
Have a good time, and rock on, geek.

Leave a Reply
You must be logged in to post a comment.