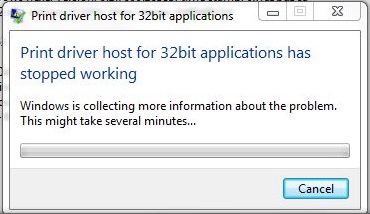
One problem I’ve experienced when using my Windows 7 64-bit computer with networked printers is that I intermittently get the error:
Print driver host for 32bit applications has stopped working
It appears that this problem occurs for most people when printing to network printers, but I was seeing it even when not printing (I would wake my computer from sleep and the message would already be on my screen).
After doing some research, I discovered that this problem seems to be a flaw in Windows. Apparently, Microsoft did not include a full list of printer drivers on the OEM installation CD, so some printers get installed incorrectly and cause your system to throw this error.
The Fix
Step 1: First off, you need to uninstall any printers that you have on your computer. Click Start –> Devices and Printers, locate your printer, right click it, and select Remove device.

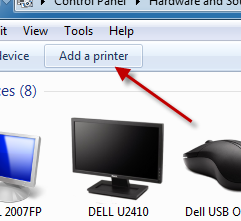
Step 2: Now you’ll need to reinstall the printer as a locally attached network printer (don’t worry, it will work just the same as before). To do this, click the Add a printer button in the Devices and Printers window from the previous step.

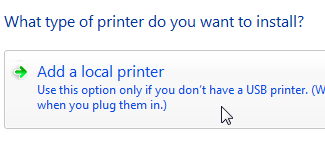
In the resulting window, select Add a local printer.

Then click the option for Create a new port and select Standard TCP/IP Port from the dropdown menu.

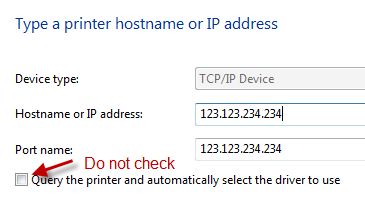
Step 3: Type in the networked printer’s hostname or IP address. The port name will automatically fill itself in with the same information. Be sure to leave the Query the printer and automatically select the driver to use box unchecked, then click Next.

Step 4: Click the Windows Update button to retrieve an updated list of printer drivers from Microsoft. Locate your printer in this list and proceed with the installation – this should fix your problem.

If you continue to experience problems with the print driver host for 32-bit applications crashing, try downloading the driver from the printer’s manufacturer and using that in Step 4 by selecting the Have Disk option.

Leave a Reply
You must be logged in to post a comment.