It’s a fact: Gone are the days that homes are built with computer rooms and family/living rooms in their floor plans. The future of sit-down family entertainment is here, and dear lord its about time. This month, my family decided to purchase a nice, new Samsung Series 6 6300 LED TV and a brand new Samsung Blu-Ray player. Now this purchase is not something new to the modern home, but in this case something new was hiding behind that TV that made the situation different. Something exciting. It was…a LAN connection.
Yes, you heard me right. A LAN connection on a HDTV. And let’s be honest, it made perfect sense. As the realm of internet connectivity and availability expands in our lives, the lines between specific devices doing specific things are getting blurred. If phones can tweet, web surf, and even become a router via tethering, why can’t televisions connect to your home internet network? A web-enabled TV in the living room is just plain, simple natural evolution.
Okay so maybe all this is old news to most techies out there. But regardless, if Microsoft has been advertising this innovation for years or not, I just had to try it out for myself.
Getting Started
For my computing test bed, I used an Asus 1005HA netbook running Windows 7 Home Premium and connected to the local family network. On the TV end, Samsung has a built-in program called AllShare that lets the TV connect and play media from the local area network. This type of TV connectivity is in part thanks to the Digital Living Network Alliance (hence the acronym DLNA), a coordinated effort of major companies to allow inter-accessibility between devices and products. Since the main point of DLNA (and Samsung’s AllShare) is to connect media, of course Windows 7 and Windows Media Player fits the bill quite well.
Setting Up Windows Media Player
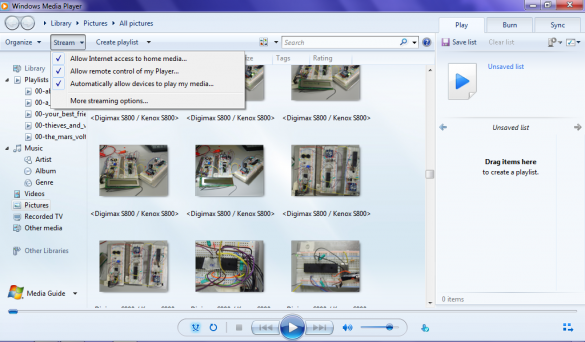
Using homegroups and Windows Media Player in Windows 7 is easy. First, make sure all your photos, videos, and music are in the right libraries and that you are allowing them to be shared in your homegroup. Then, load Windows Media Player and hit the nice big “Stream” button in the middle to begin the TV/computer sharing fun.
Windows Media Player allows two methods of sharing your files with your home network: allowing devices to play your media, and allowing full remote access to your media. But before these can be explored, let’s set up Windows Media Player by allowing internet access to your home media. To ensure that your media is not being accessed by hooligans and ruffians on the internet, Windows 7 does this by linking your media access to your Windows Live account. Sounds safe enough, right?
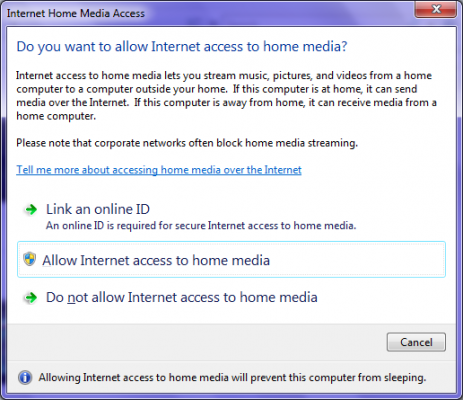
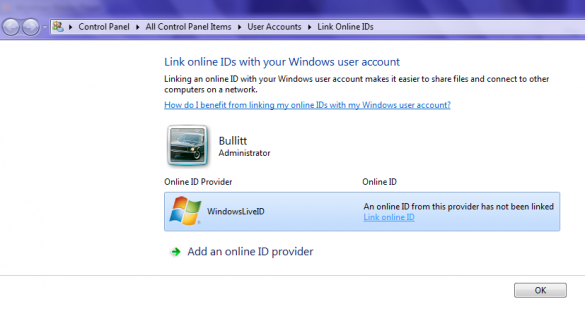
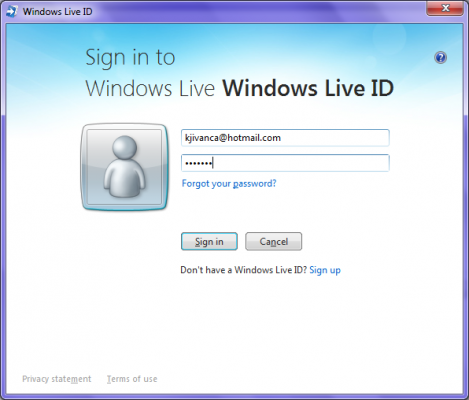
Once this is done, Windows Media Player is ready to allow media to be allowed on DLNA TV.
Sending Media to Your TV
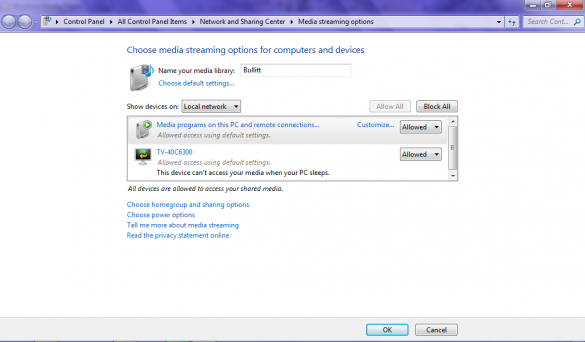
Like I mentioned before, there are two ways to show your media on your TV through Windows Media Player (weren’t you listening?). Here is method one: pushing media to the TV while using your computer. First, we need to allow devices to play any media.
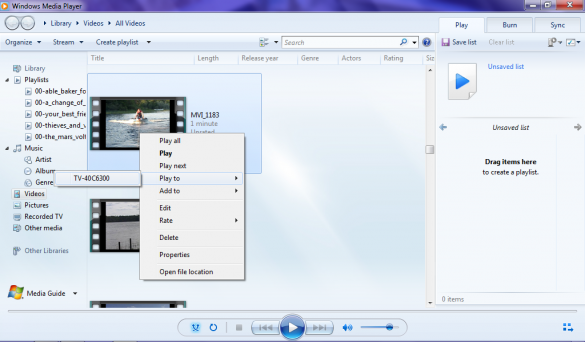
As you can see by the nice screenshot above, the Samsung TV is not only on the network but has been allowed to see my shared media. Next, let’s find a file to push to the TV. This is done by right clicking on the file and picking the “Play To” option in Windows Media Player.
If all goes well, your TV should ask if you want to play the video (just in case you changed your mind). After a tough choice of clicking either “Allow” or “Deny,” your video should start streaming to your TV.
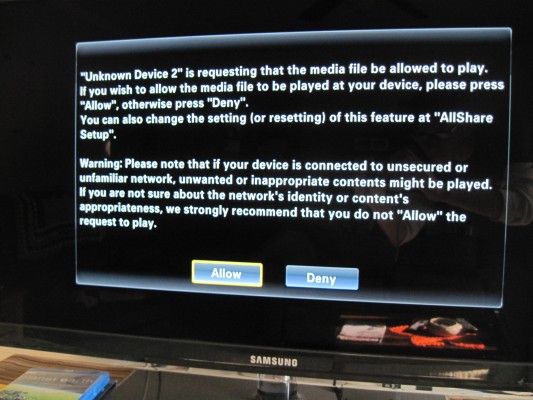
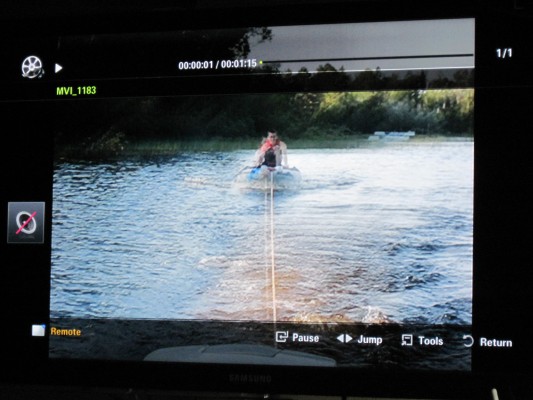
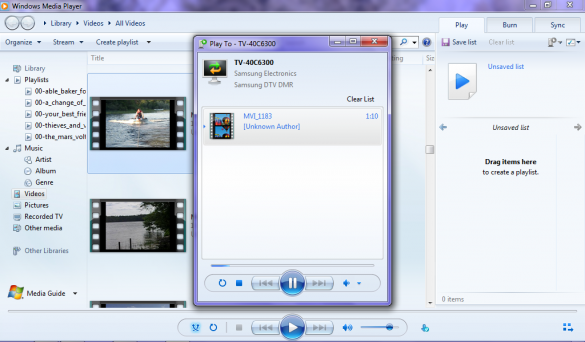
Now that is all fine and dandy, but what if you want your TV to find the files AND play media?
Getting Your TV to Find and Play Media
Now this is where DLNA gets cool. Not only can you stream files from your computer to your TV, but you can also access them from the comfort of your couch via the TV’s remote. This process, called remote access, is done by clicking the “Allow Remote Control of My Player” option under the “Stream” menu in Windows Media Player.
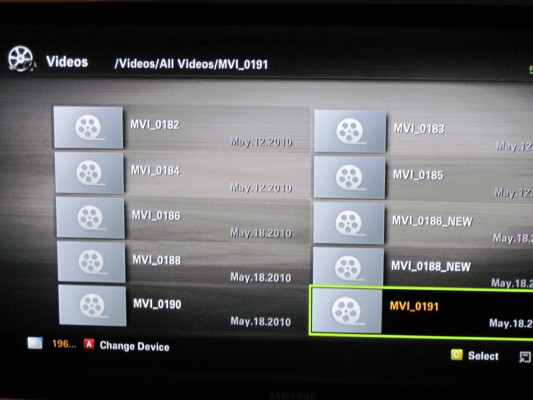
The specific TV you purchased will determine how it accesses files. For the Samsung Series 6, one must first hit the “Media P” button on the remote and enter the Media Play program to start playing files.

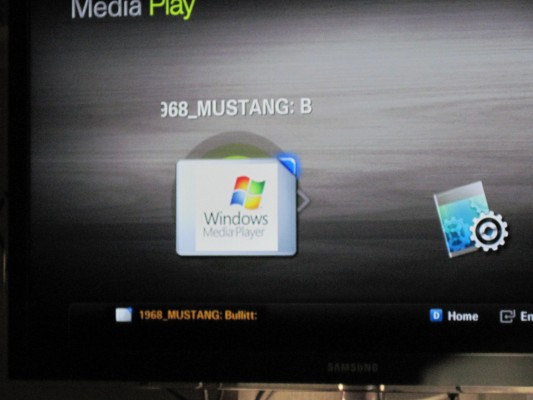
If all goes well, your computer should show up as the default device to connect to. Otherwise, it should not be too hard to make it the selected device. From here, it is just as simple as flicking those fingers on that remote to begin browsing media files!
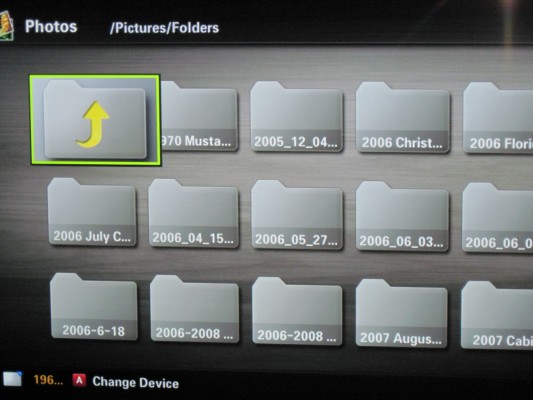
So there you have it. Thanks to the cooperation of companies, computers, HDTV’s, and a local area network, one can turn their living room into a connected media/living/computer room. Gone are the days of gathering the media around the TV. It’s time to gather the TV around the media.
Evolution Image Courtesy: edyson’s Flickr


Leave a Reply
You must be logged in to post a comment.