 Navigating through your personal files can sometimes be a nightmare, and it can often times be easier to open individual documents to find exactly what you’re looking for. After awhile, you can find yourself with multiple open documents, but none of them were the one you were looking for.
By default, you documents will appear in a list or as icons in the Windows file explorer. The Preview Pane in Windows 7 makes quickly viewing your documents a breeze.
Enabling The Preview Pane
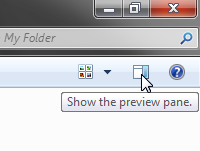
Enable the Preview Pane by clicking the Preview Pane button in your open explorer window.
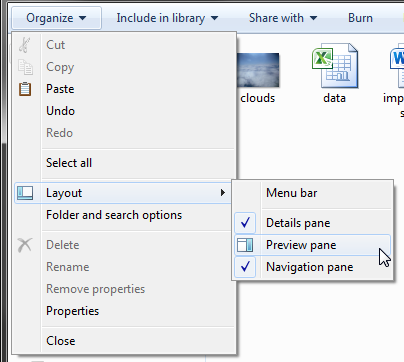
You can also navigate to Organize > Layout and click on Preview Pane to enable it.
Clicking on a file will now show a preview. Note that not all files may not be viewable in the Preview Pane.
Below are a couple of examples of what documents look like in the Preview Pane.
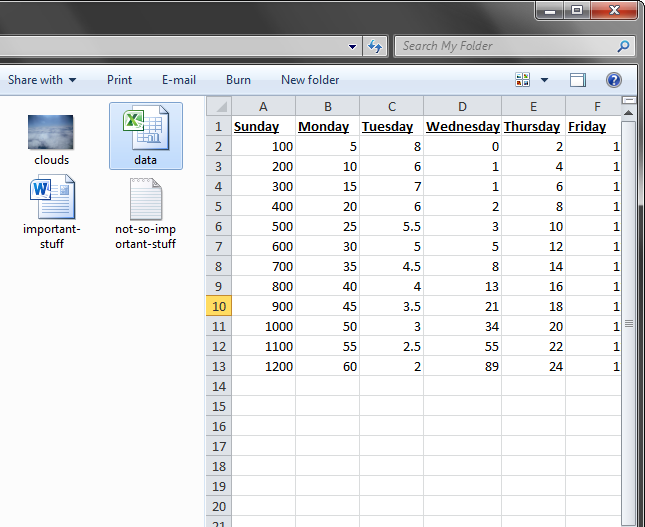
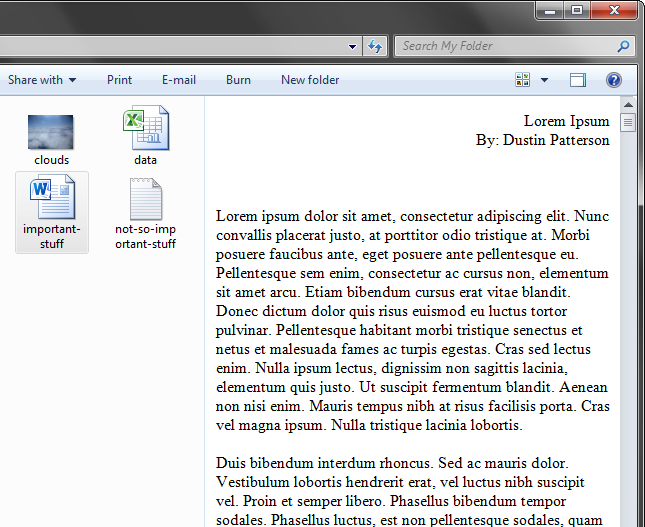
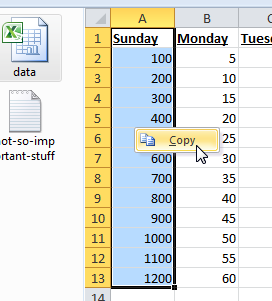
You cannot edit files through the Preview Pane, but you can copy the contents of the file.
You can re-size the Preview Pane to increase the preview size by clicking and dragging the vertical line separating the Preview Pane from the file list.
Thanks to Erica Johnson for this tip. If you have any article ideas or other tips, be sure to send them to tips@techerator.com.

Leave a Reply
You must be logged in to post a comment.